Planning a route by manually creating route points on the map
To plan a route by manually creating route points on the map, first open the route planner. If a route is present, tap the button with the cross to reset the route planner.
If you press long on the map, a route point will appear. If you hold you finger on the map, you can drag the route point to the desired position. If you then release your finger, the route point will be positioned. On Mac-OS, you also could press Command-A to add a route point at the position of the pointer.
An example with one route point added to the map is displayed below:
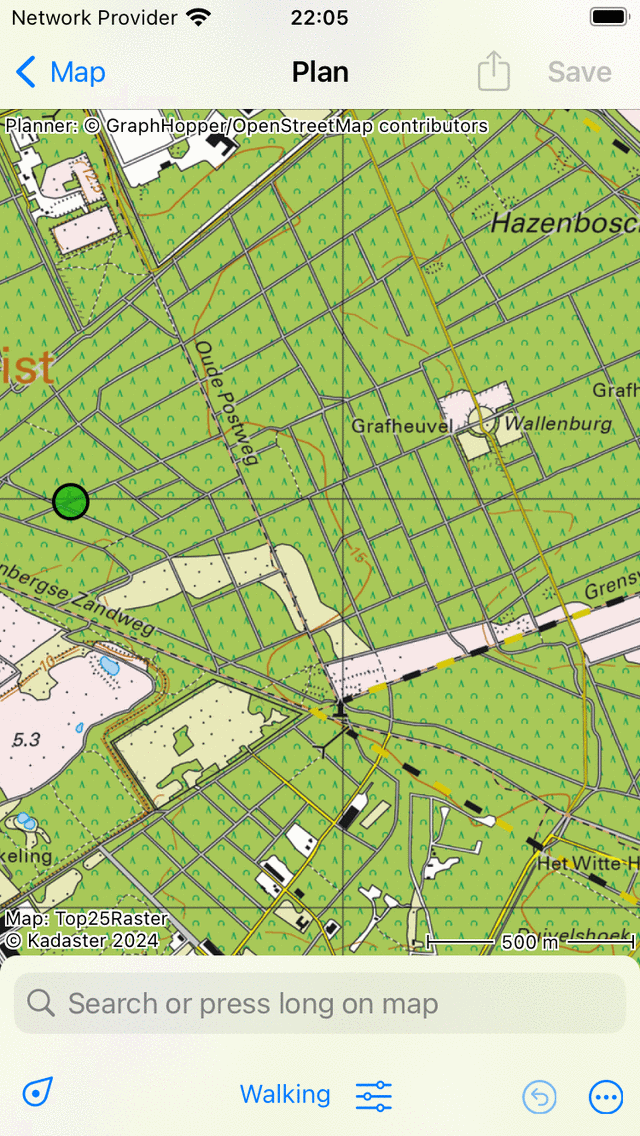
A single route point is added manually to the map.
The added route point is colored green. The green color indicates that the route point is selected.
You can add a second route point by pressing long on the map. This one will be colored blue and indicates a route point that is being added. A blue route point will always follow a green one. You now have to drag the blue route point to the desired position. If you release your finger a route will be planned from the green to the blue route point as you can see below:
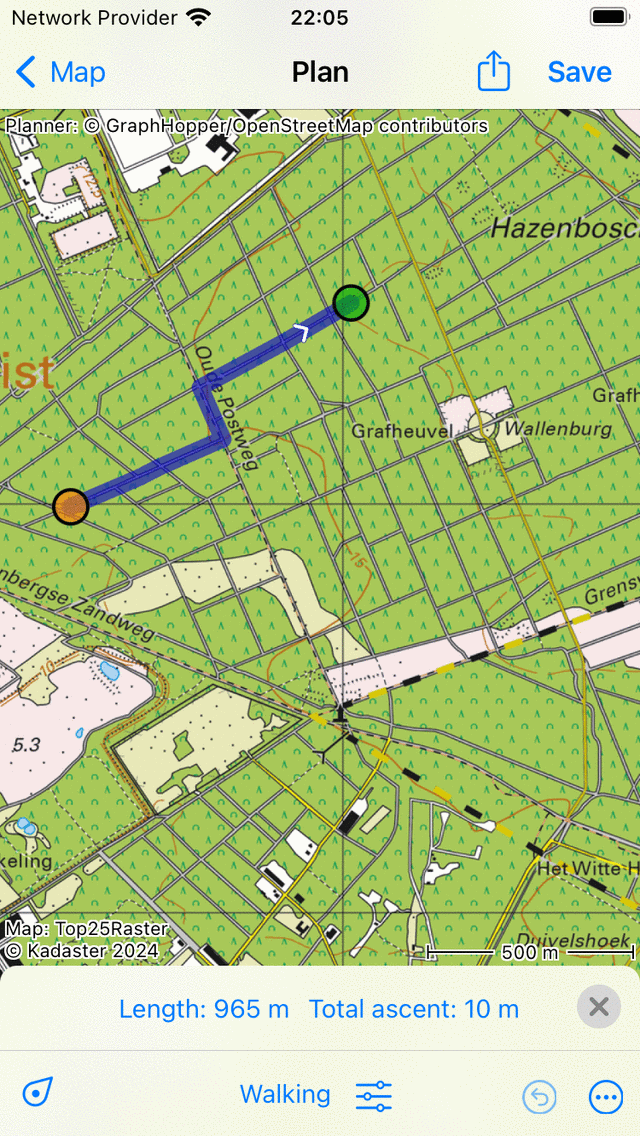
A route is planned between two manually added route points.
By planning a route the route points will be moved automatically to the closest known road.
By releasing the blue route point, it will be selected automatically and colored green. The originally selected route point will be deselected and becomes orange.
The length of the planned route is indicated in the route planner overlay in the bottom. If you tap the length, the map will zoom to the planned route. Also the total ascent is shown in the overlay. If you tap the total ascent, you can view a height profile of the planned route.
To extend the route you have to add a third route point, by pressing long on the map. An example is displayed below:
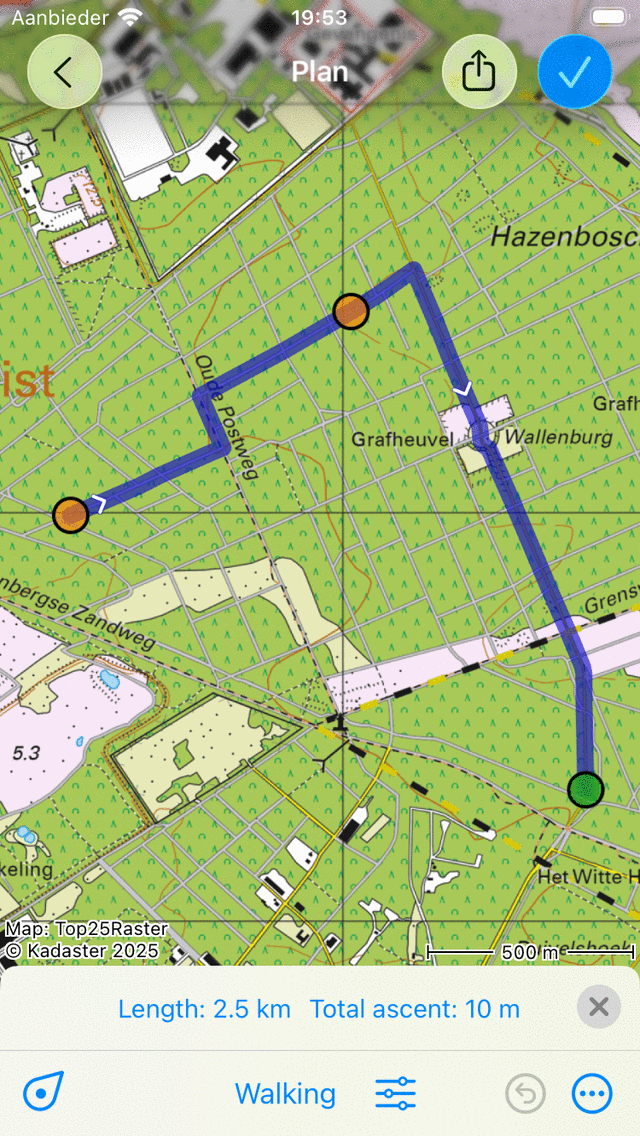
A route is planned via three route points.
Planning a round-trip
To plan a round trip, you first have to create several route points as in the example above. Then tap the first route point. A pop-up will appear in which you are asked to to plan to or select the start point. If you tap ‘Plan to start point’ the route will be closed, as you can see in the example below:
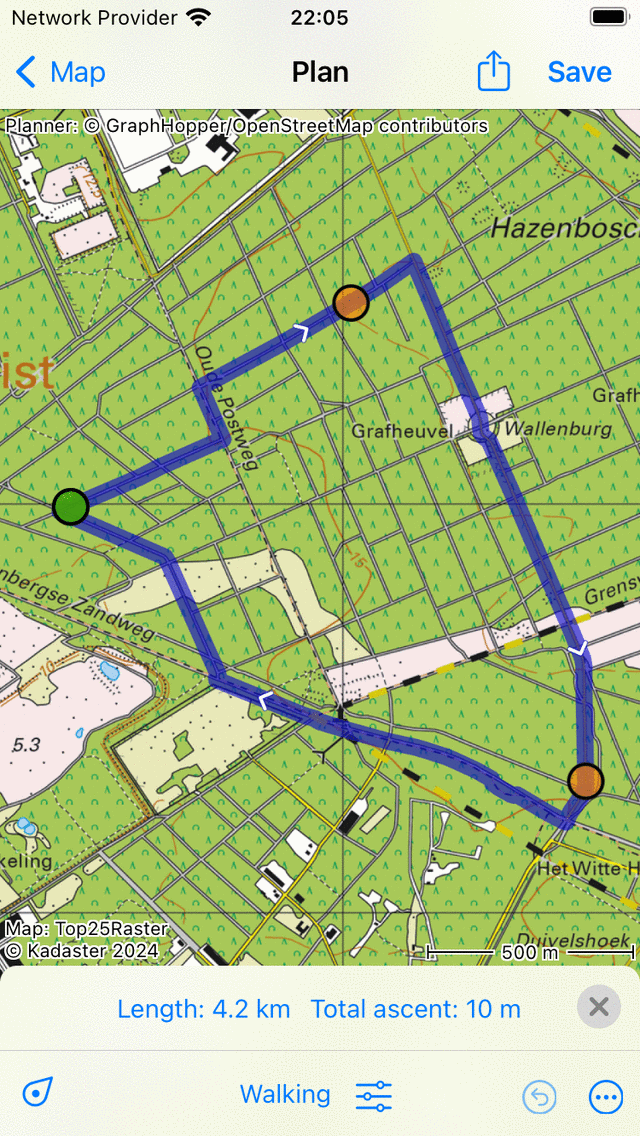
A round-trip route is planned via three route points.
Selecting route points
You can select a route point by tapping (pressing shortly) a route point. The tapped route point will become green. A route point that immediately follows a selected route point will be colored purple. In this way you can always recover the direction of the route. All other route points will be colored orange.
Moving route points
To move a route point, you first select the desired route point by tapping it. The route point will become green. Next, you press long on the selected route point. Hold your finger on the screen and drag the route point to the new position. An example is displayed below:
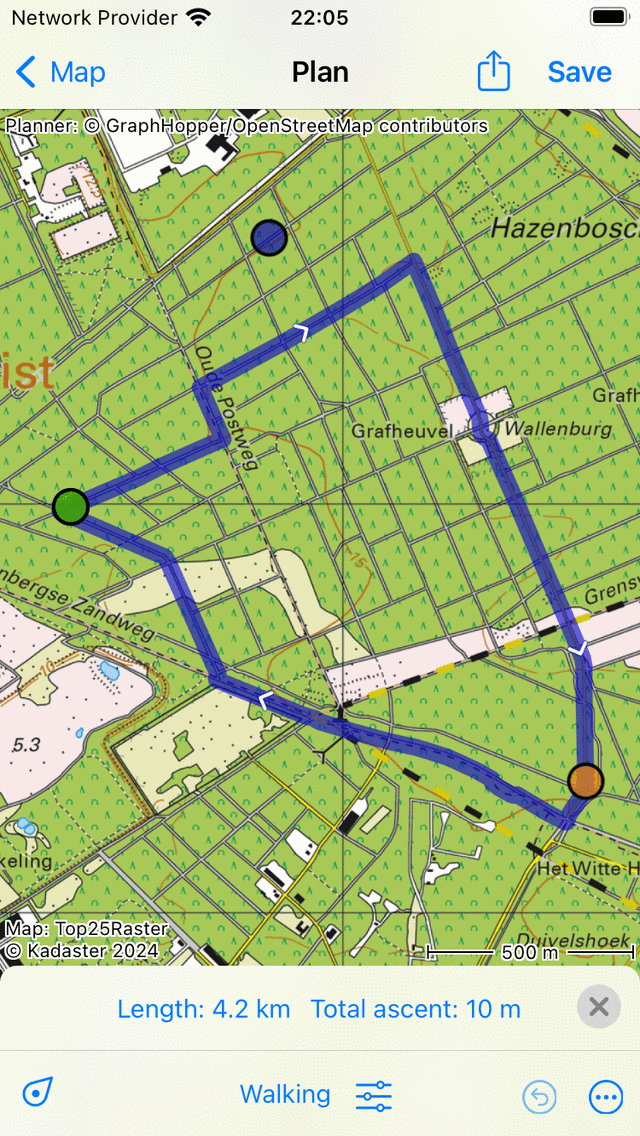
Moving a route point.
If you release the moved route point, the new route will be calculated automatically as you can see in the figure below:
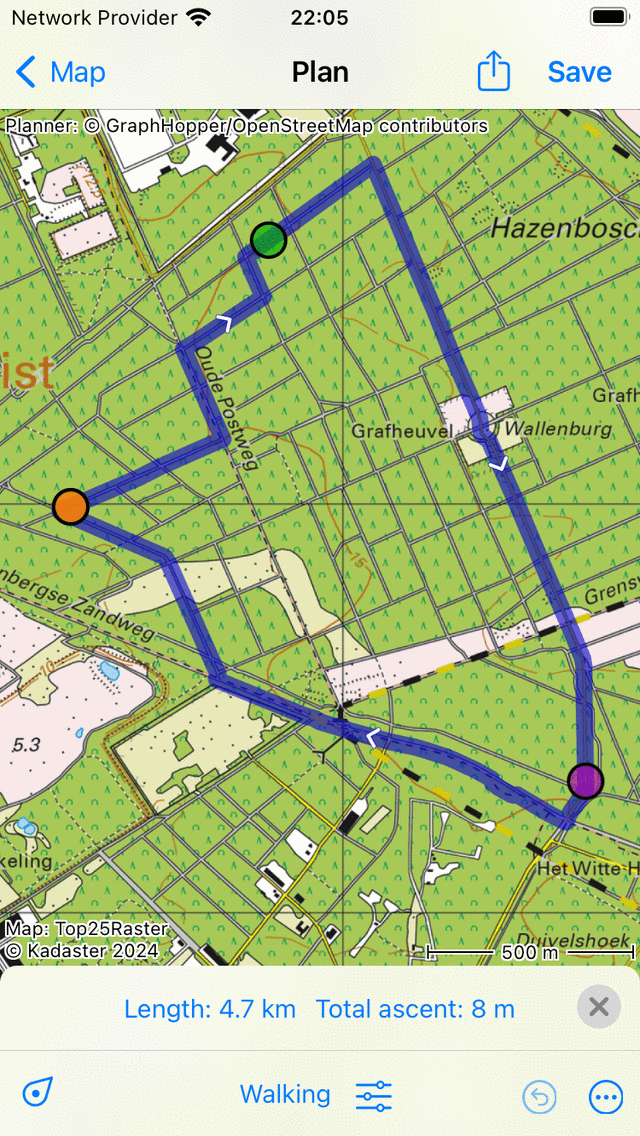
Newly planned route after moving a route point.
Inserting route points
To insert a route point in between two existing route points, you first have to select the route point that lies just before the route point that you intend to insert. To select the route point, you just have to tap it (press shortly).
If the selected route point is not the last route point, you will see a purple route point. That is the route point that directly follows the green route point. An inserted route point will be inserted between the green and the purple point.
If you press long on the map, a blue route point will appear. If you hold your finger on the map, you can drag this point to the desired position. An example is displayed below:
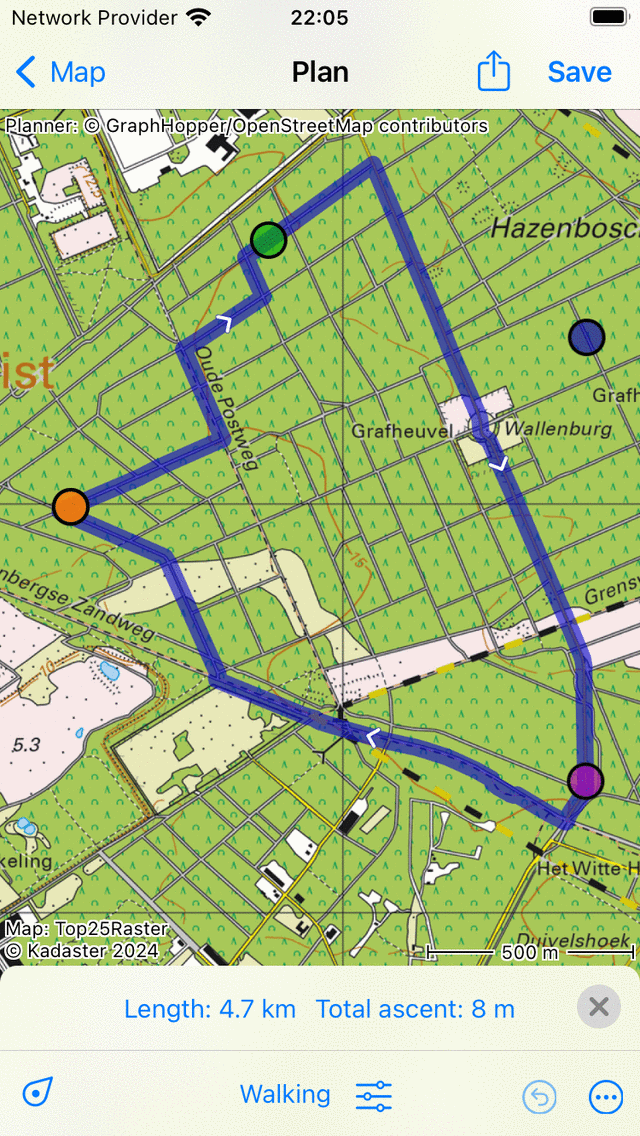
A new route point (blue) will be inserted between the selected (green) and the following route point (purple).
If you release you finger from the screen, the route between the green and purple route point will now go via the inserted route point. This is illustrated in the figure below:
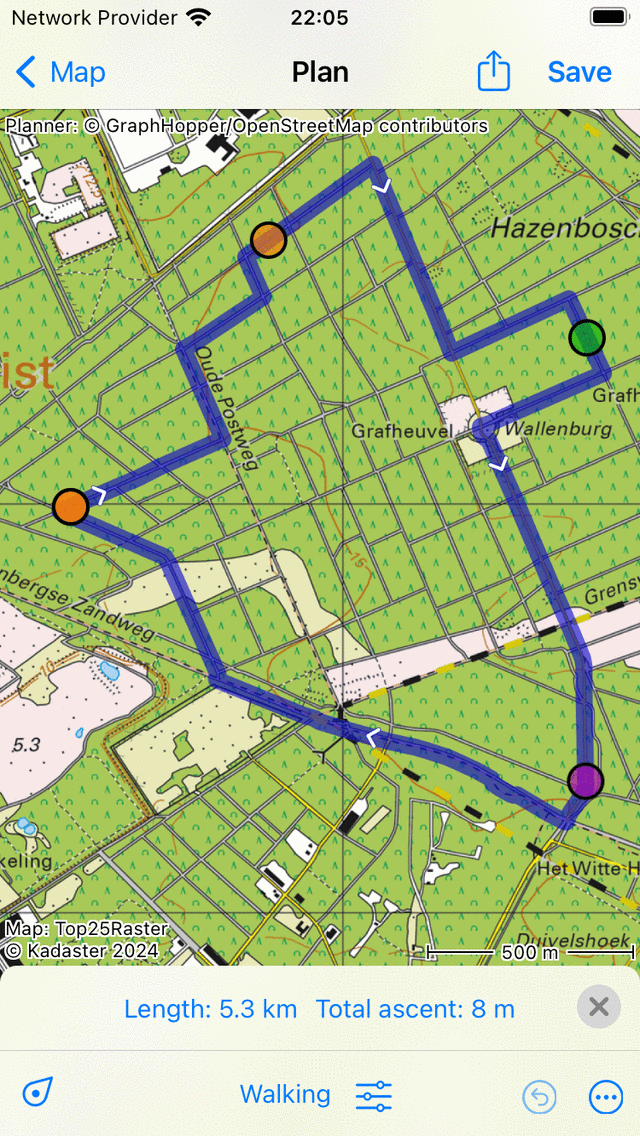
The newly planned route goes via the inserted route point.
If the new route has been computed, the inserted route point will be automatically selected and colored green.
It is also possible to insert a route point on the current route. Press long on the route, a new blue route point will appear. If you move your finger around, the new route point can be moved along the route line only. If you release your finger, the route point will be inserted.
Removing route points
To remove a route point, you first have to select the desired route point by tapping it. Next, press long on this route point, hold your finger on the screen and drag it to the top or bottom of the screen. You will see that the route point disappears. An example is displayed below:
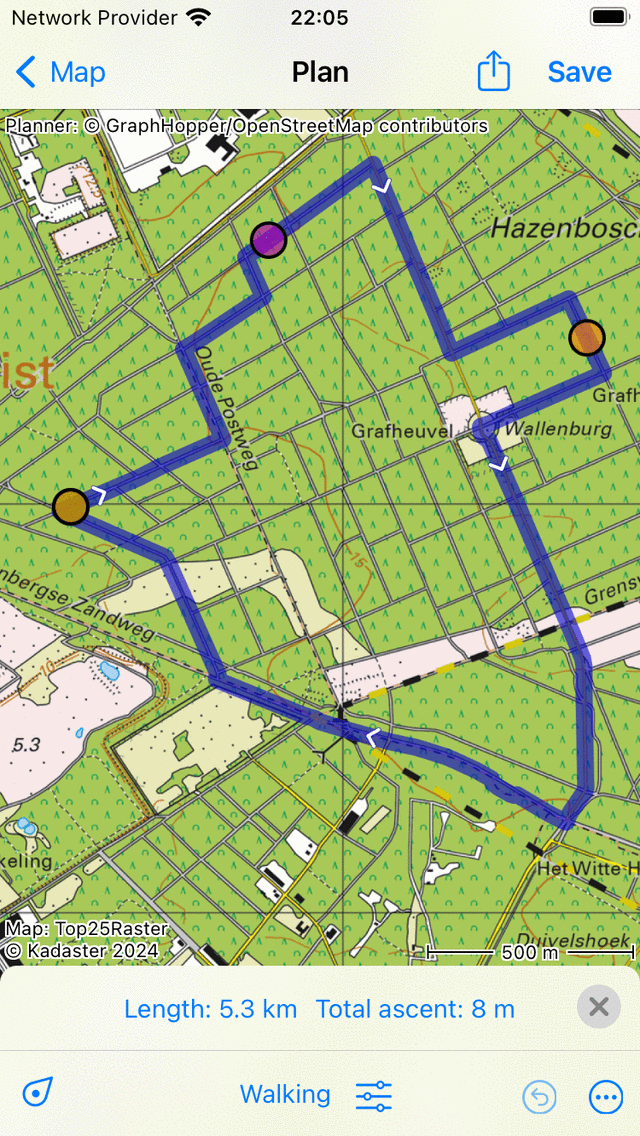
Removing a route point by dragging it to the top or bottom of the screen.
If you have dragged the route point to the bottom or top of the screen you can release it. The route point will be removed and the route will be recalculated as you can see below:
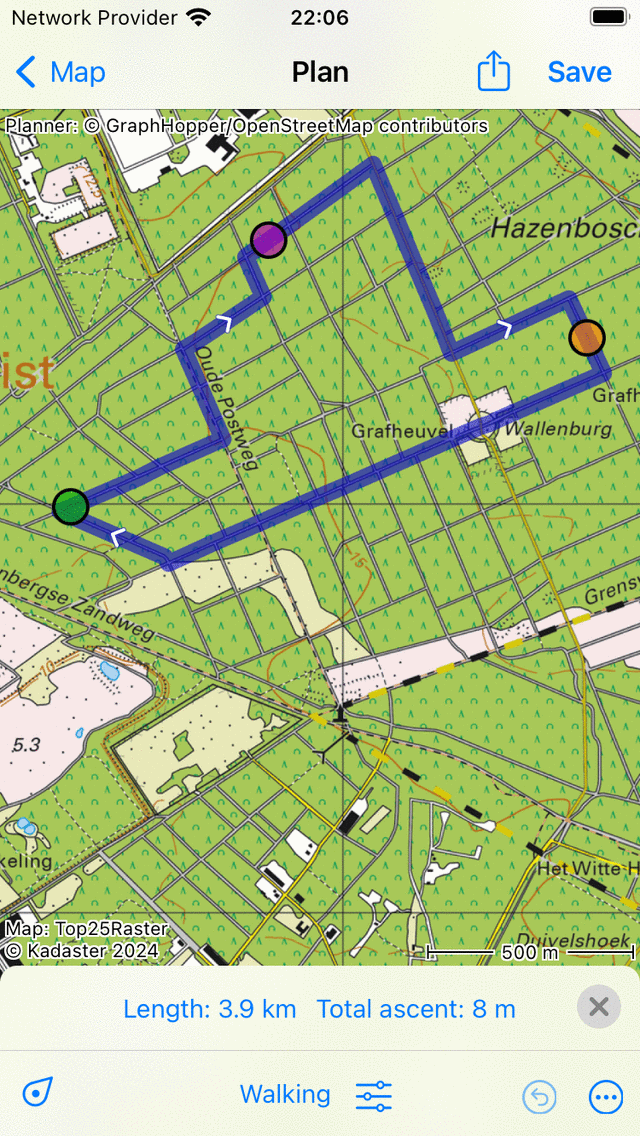
The route after removing a route point.