Selecting routes
In the saved routes screen you can select routes and perform one of the following actions on the selected routes:
Remove selected routes
Move selected routes into a folder
Export selected routes
Load selected routes on the map
Remove selected routes from the map
Merge selected routes
Edit line style of the selected routes
Selecting routes is similar to selecting waypoints.
Opening selection screen
If you press the button ‘More’ on the top right of the saved routes screen, a menu will be shown. Tap ‘Select’ in the menu to open the selection screen. It is also possible to open the selection screen by pressing long on an item in the saved routes screen. That item will then be selected immediately. An example of the saved routes selection screen is shown below:
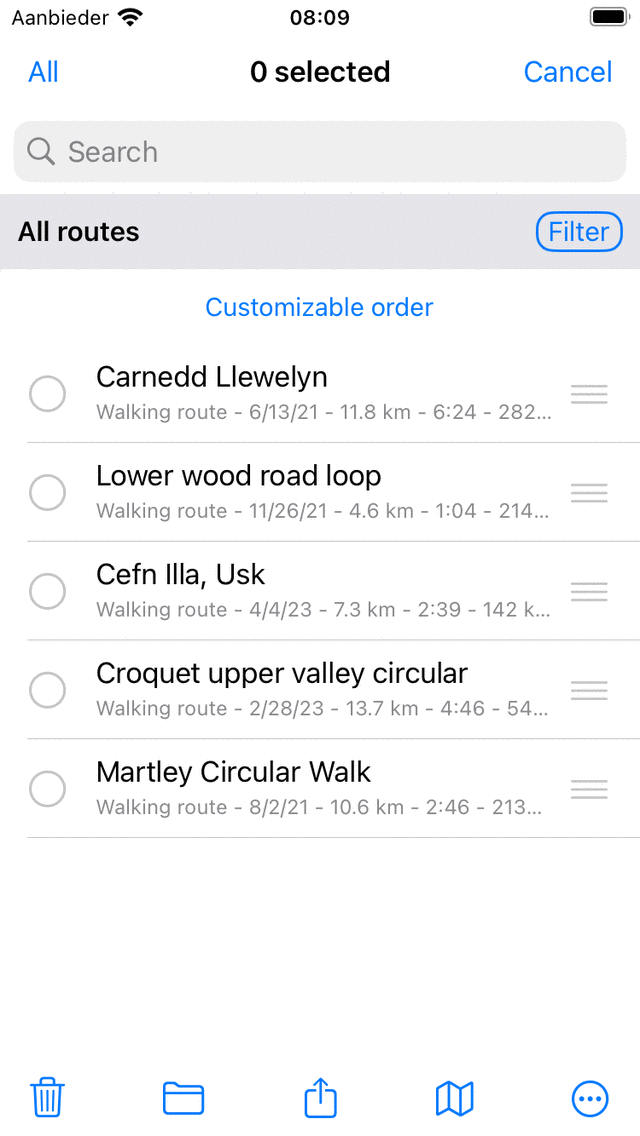
The selection screen in which you can select routes.
Selecting routes
To select one or more routes, tap a route item in the selection screen. A checkmark will show up and the background of the item will become gray to indicate that it is selected. An example in which two routes are selected is displayed below:
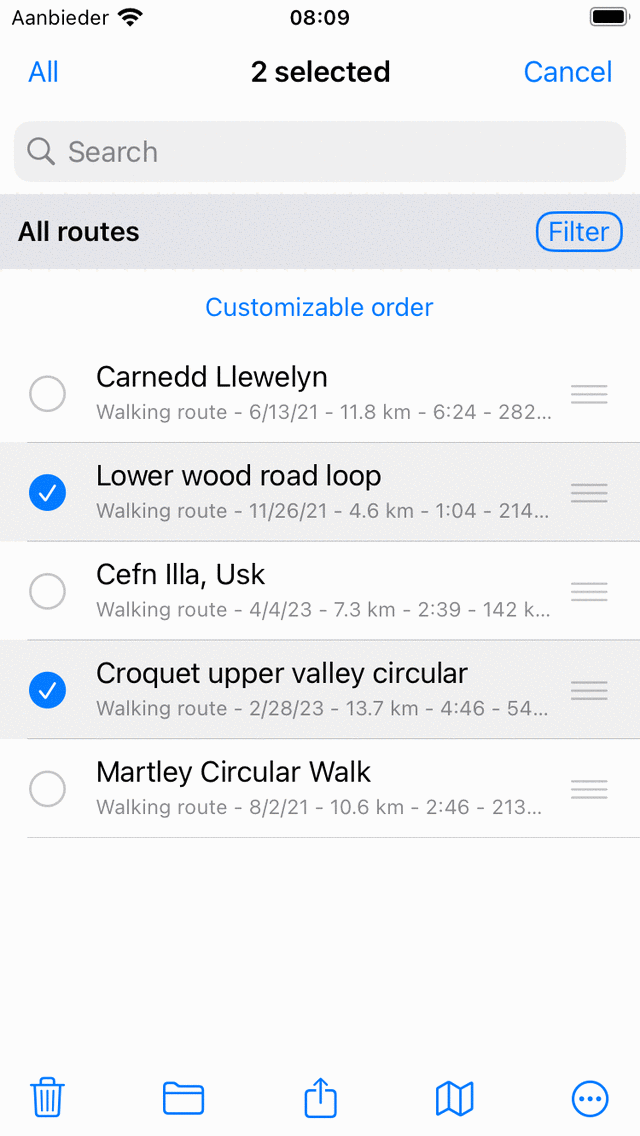
Two selected routes.
The title of the selection screen shows how many items are selected. You can deselect a route by tapping a selected one. If you want to select all routes in the list, you have to press ‘All’ on the top left. To return to the usual routes screen you have to press ‘Cancel’.
To quickly select multiple routes you can long press on a item, leave the finger on the list and then go up or down. In the same way you can quickly deselect multiple items.
Performing an action
If you have made a selection you can perform an action with one of the buttons in the toolbar on the bottom of the screen. The toolbar buttons are:
Trash button: If you press this button a pop-up will ask to to whether you would like to remove the selected routes from your device (and iCloud if enabled). If you press ‘Remove’ the selected routes will be removed.
Folder button: If you press this button a screen with the folder tree will be opened. You can select a folder and the selected routes will be moved to this folder.
Export button: If you press this button the export pop-up will be shown. In this pop-up you can select the kind of data to be exported and change the export settings. If you press ‘Export’ in the export pop-up the selected routes will be exported. Another pop-up with apps and actions will be shown. If you tap an app or action, the result of the export will be handled by the app or action.
Map button: If you press this button, the selected routes will be loaded on the map. The map will zoom automatically to the selected routes and you will return to the map.
More button: If you press the more button in the bottom toolbar, a menu will appear from which you can choose the following actions:
Remove from map: The selected routes will be removed from the map.
Merge into new route: The selected routes will be merged into a new route. A screen will be displayed in which you can choose a title. If you press ‘Save’ the merged route will be created. Sometimes it might be useful to merge routes first, and then split them afterwards (Route details > Edit > Split route). For example in this way you can make your personal daily tracks from a collection of routes that together make a longer trail.
Edit line style: The line style of the selected routes can be modified. In this way you can easily give a collection of routes a distinct color or line width.
Save as layer: With this option you can combine the selected routes into a separate layer. In the pop-up that appears you can choose to override the customly set route line styles, and pick a default color for the lines. You can also enter a title for the layer. After tapping save, the selected routes are copied and saved into a newly created layer. They can be loaded and removed from the map via Menu > Layers.